How to add a new post with the WordPress default editor
WordPress is known for its ease of use and effortless content editing and with the release of the “Gutenberg” editor at the end of 2018, creating interactive content became that much easier.
But, with anything new comes a bit of a learning curve, so here’s a one-stop guide on How to add a new post with the WordPress default editor.
Creating a new post in WordPress with the default editor
The Gutenberg editor became the default for posts and pages starting from WordPress 5 (Bebo). With its release came a new way to create unique and interactive layouts in a modern, clean and simple interface.
To get started, navigate to the posts page of your WordPress Dashboard and click “Add New”.
Adding a title
When you reach the new post page in the WordPress dashboard, the first thing you’ll notice is the text “Add title” in big, bold wording.
To add a title, click the text and type whatever you’d like the title to be.
Using WordPress content blocks
The defining feature in the default WordPress editor is the use of “blocks”. Each row of content in a post is a type of block, such as paragraph, list, heading etc.
There are numerous blocks to choose from each offering a different way to display the information of your article. There are two ways to add a new block to the page.
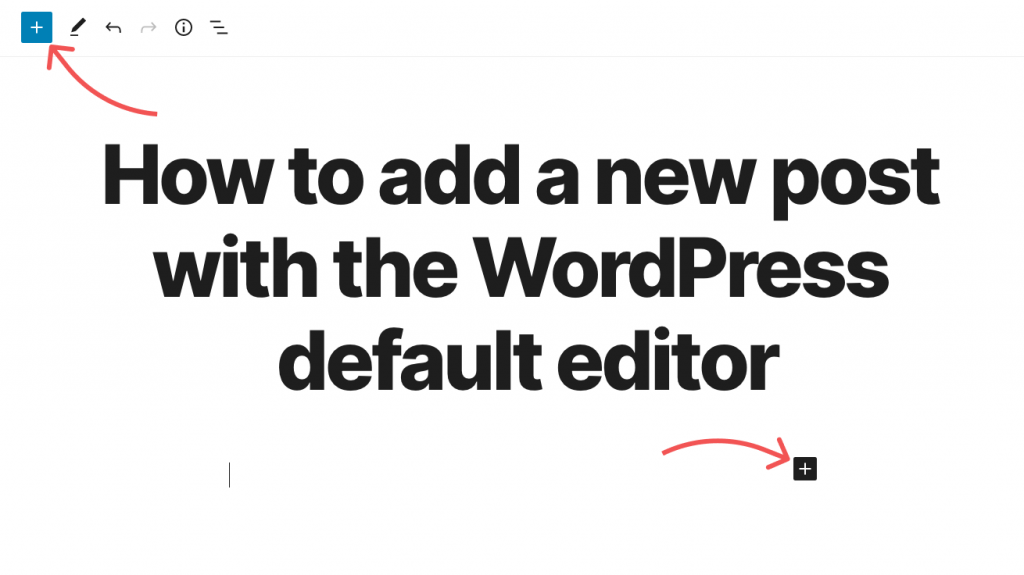
Method one is to click the plus icons located in the top left of the screen, or to the right of a currently selected block.
The second method is to click on an empty block and start type / to search for and add a block.
The most common block types you’ll be using consist of Paragraph, Heading, List, and image. However, there are a lot of others that can be used to enhance the layout of your post.
Adding media blocks
Media is a vital part of any website article; it adds an extra level of engagement and is the perfect way to highlight information in a simple and easily digestible way.
The default WordPress editor comes with numerous media blocks that can be used to embed images, videos and other forms of multimedia.
Adding an Image Block
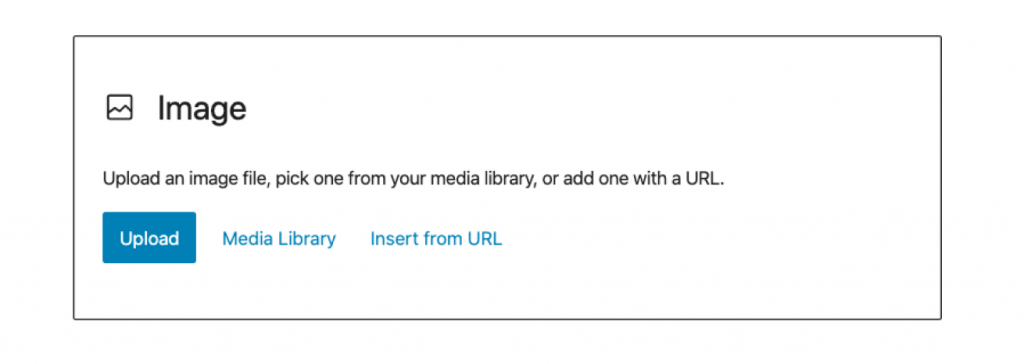
The Image block can be used to display a single image in the post, at the point that the block is inserted. Once you add the image block to the page, you will see three buttons “Upload”, “Media Library” and “Insert from URL”.
The upload option allows you to upload a new image from your device, while media library allows you to select from images that have already been upload to the site. Finally, the Insert from URL button will allow you to add an image from another website.
Adding a Media & Text Block
If you’d like to display an image or video beside a body of text, then you’d be looking for the Media & Text block. Once you add a Media & Text block to the editor, you will be shown two columns.
The left column is for your media, which can be either an image, video or audio file. To select the media, you can either click “Upload” or “Media Library”.
On the right side is where your text-based content will go. Click the “Start writing or type / to choose a block” text and begin writing. Alternatively, you can use this column to add child blocks.
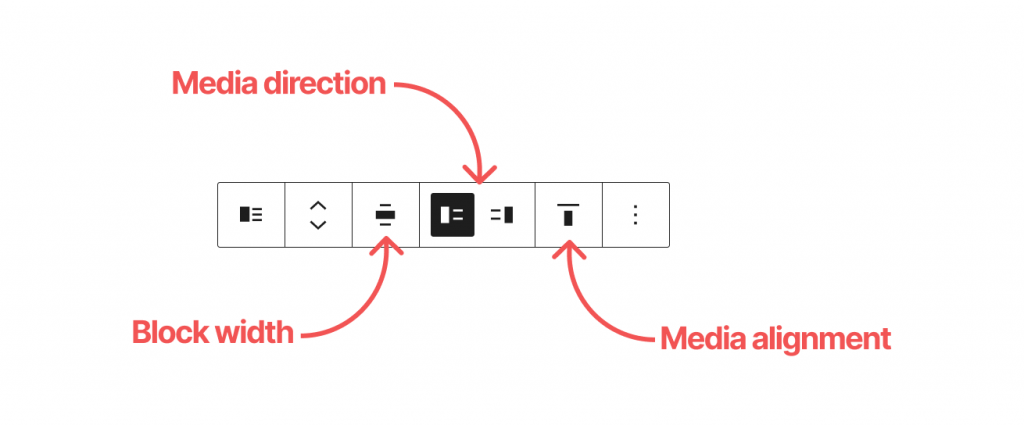
You can change which side the media is on by selecting the overall block so that the settings bar comes up. Then select either the left or right icon.
Other settings located in this bar include how wide the block is, either full width or wide width, and the alignment of the media to the text.
Adding a Gallery Block
Occasionally, you might like to display multiple images in as a gallery; the aptly named Gallery block is what you’ll be looking for.
Adding the Gallery block to the editor will present a familiar set of options, consisting of “Upload” and “Media Library”. The difference from the Image block, though, is that you can select more than one image to display.
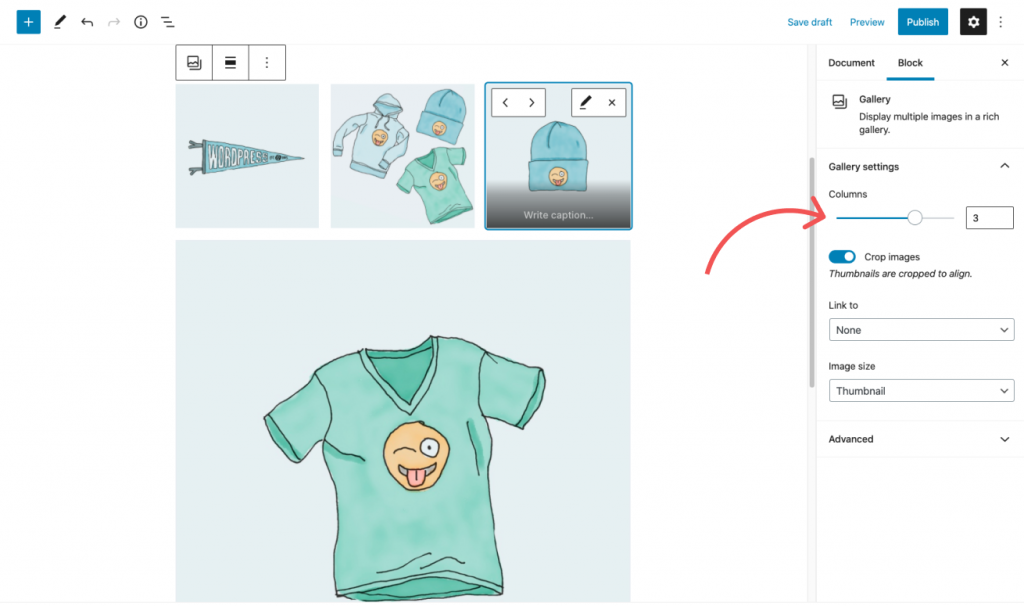
You can change the order that images are displayed in your gallery by clicking the image you’d like to move and then clicking the left or right arrows that appear.
If you’d like to change the number of images that appear per row in the gallery, you can do so by selecting the Gallery block you’d like to edit and then changing the columns set in the right-hand options panel.
Although the Gallery block is a great way to display grids of images, it’s a little basic. For example, what if you want the images to open in a lightbox on when clicked?
The answer is one of the many Gallery Block plugins that can be found on the WordPress Plugin Repository.
Adding a video with the block editor
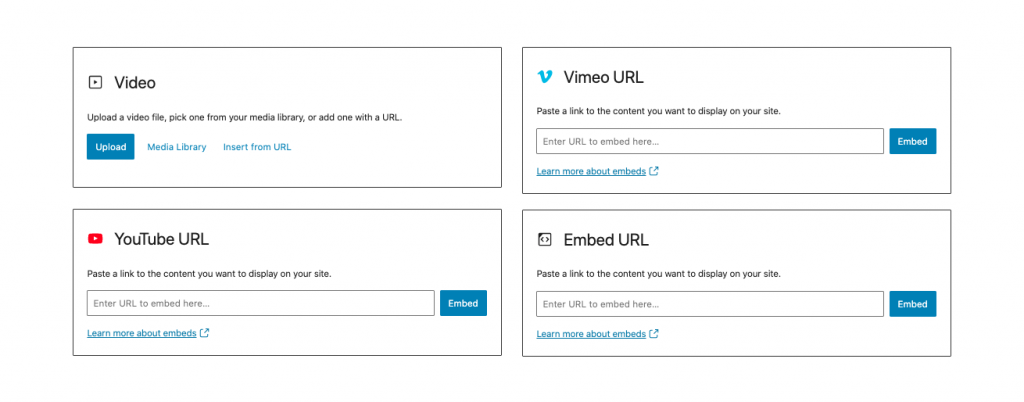
There are several ways to add a video to your post. The first is with the Video Block which allows you to upload MP4, OGV or WebM files.
If you choose the Video Block, then it’s useful to know that MP4 has the most browser support.
The second option is to embed the video from a service such as YouTube or Vimeo. Luckily both these services have blocks of their own which you can use.
And the third option is to embed the video from another site which supports OEmbed, in this instance, you’ll be looking for the Embed block.
The block editor toolbar
Most blocks will have a toolbar which affects the visual appearance of the block being displayed. Things like font colour, weight, text alignment and in many cases, block width.
It also allows you to change the order of blocks with the arrows that are shown.
You can access the toolbar by clicking the block you’d like to edit.
Block settings panel
To the far right of the screen, you’ll see the settings panel, which will show additional options for your block, for example, background colour or font size. Each block has it’s own options, so have a play around.
Document settings panel
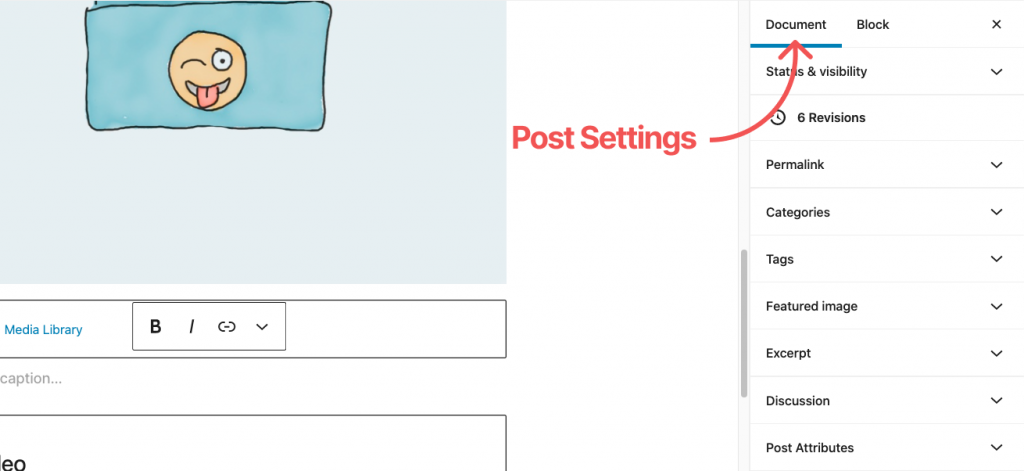
The block settings panel on the right also doubles as the settings for your post; you can change between document and block settings by clicking either “document” or “block” located at the top of the panel.
From within the document settings panel, you can set the general options for your new post, such as the status, visibility, URL and categories.
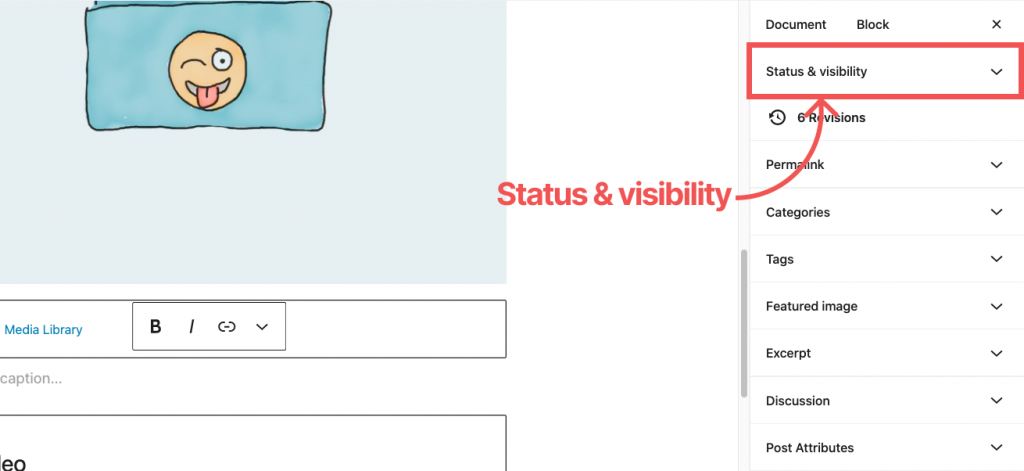
Status & Visibility
The Status & Visibility settings; shows you a few options regarding who, how and when your visitors can view your new post.
There are four options you can set, including:
- Visibility, which can be either, Public, Private or Password Protected.
- Publish, which allows you to select a time and date that your new post will publish on.
- Stick to the top of the blog, which is supported by your theme will pin the new post to the top of the blog archive page.
- Pending review, which will mark your post as pending, making it not accessible to anyone without editor or higher user permissions.
If you have more than one user with a role of Editor, Author or Admin, then you’ll also see an “Author” field, which can be used to select who your new post is published by.
You can also click move to bin from the Status & Visibility settings if you’d like to trash the post altogether.
Revisions
The Revisions settings, when clicked, will display all the previous versions of the post you’re writing, including drafts. You can use this option to restore past edits of your post.
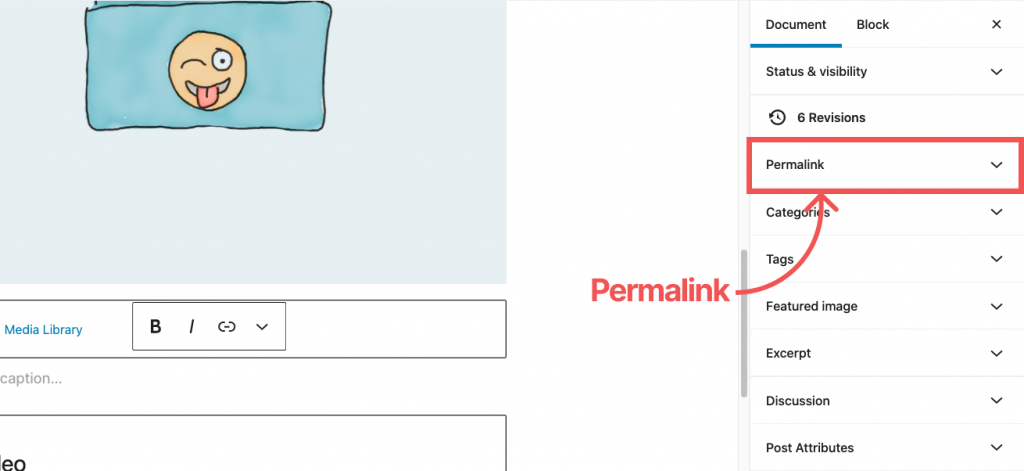
Permalink
From the permalink settings, you can change the new posts slug, which is that last part of the URL, that people will use to view and share your post.
If you’re unsure about what a permalink is or need to change more than the post slug. We wrote an article about how to change the WordPress URL structure; that explains a bit more.
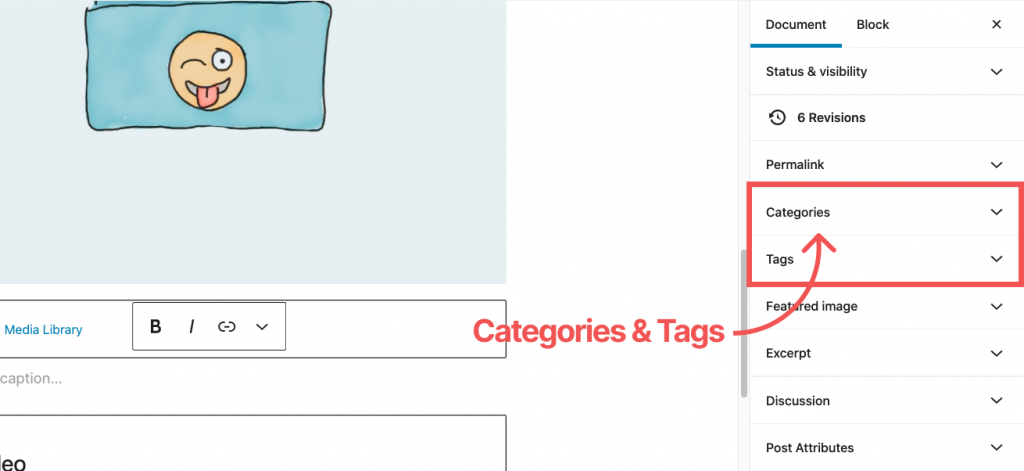
Categories
The categories settings allow you to add, and choose the categories that your new post will display under.
We recommend utilising the categories system in WordPress as it’s a good way to order, and group posts; making it easier for visitors to find related articles and search engines to index your site.
The tags settings are like categories but can be a little less strict. Think of categories as a broad group while tags are a narrowed down.
Featured Image
Adding a featured image (also known as a post thumbnail) is a must for the majority of websites. It acts as the main image of your post and is usually displayed in prominent locations such as, on the homepage, blog archive, category and of course, the blog post itself.
To add the featured image to your new post, open the settings item and click “Set featured image”. This will then open the WordPress media library where you can select existing or upload a new image.
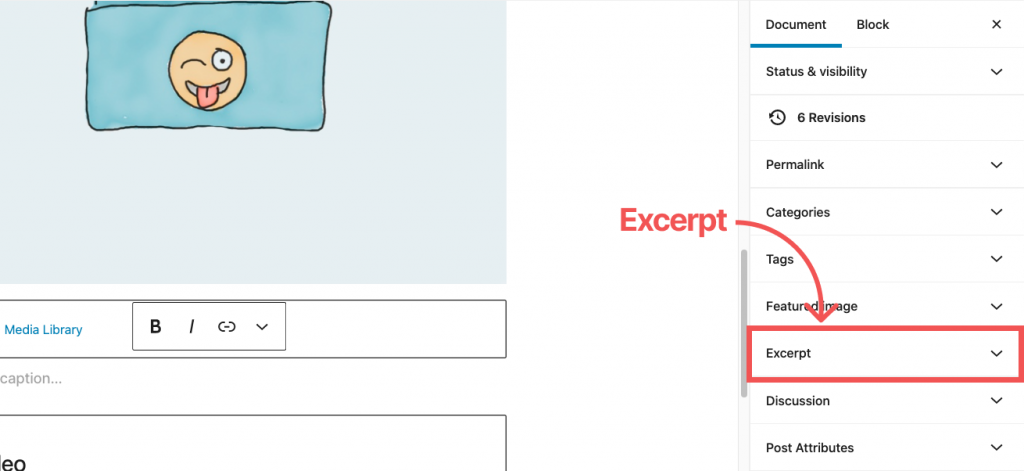
Excerpt
A post excerpt is a summary of the article; many themes will show the excerpt on category pages or the blog archive pages. You may also find that it’s used for the SEO meta description as well.
We suggest writing an except for all your new posts, consisting of around 160 characters.
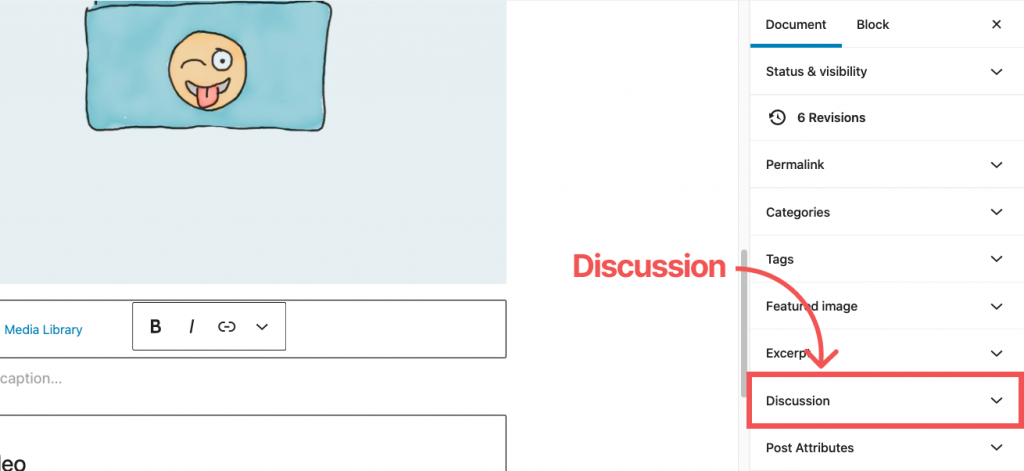
Discussion
From the Discussion settings, you can choose between two options, that determine how readers can engage with your new post.
Allow comments, when checked, it will enable the ability for visitors to leave comments on your new post. So long as your theme supports it.
Allow pingbacks & trackbacks, when checked your article will accept ping and trackbacks, which are a method of sending and receiving notifications when your article is linked to from somewhere else.
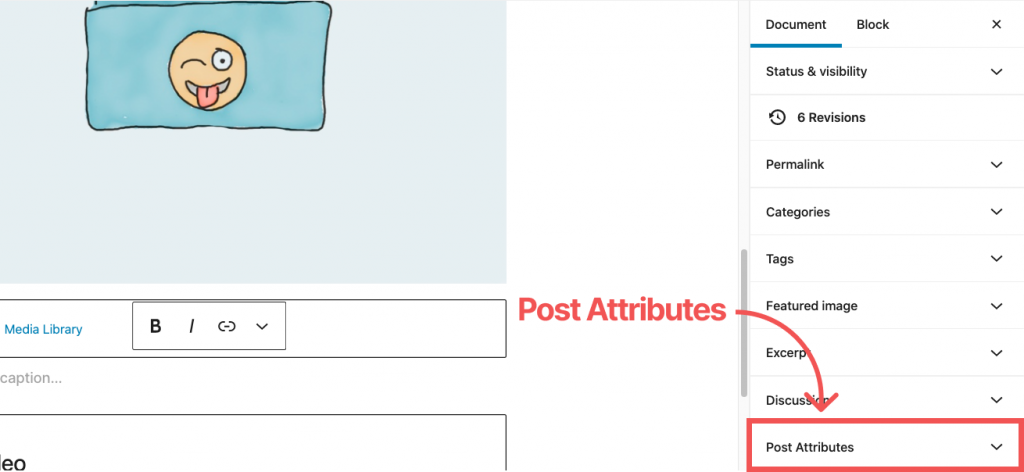
Post Attributes
The post attributes settings offer the ability to select a different post template if your theme has multiple post templates.
You might have a template with a sidebar, a fixed width or one to use the full width of the screen.
Publishing your new post
When you’re ready to publish your new post, click the blue “Publish” button located at the top of the screen. Once published, your article will be accessible to your websites visitors.
If you’ve set a publish date in the Status & Visibility settings, then the blue button will say “Schedule”.


